In the previous article we looked at how to install Mojolicious, build a hello world web app, test it and deploy the same in the instance. In the course of next few articles, we will look at building a mini project which covers session management, database connections, templates and layouts.

Test Case Synopsis
The test case that we have is to build a web application for testimonials. That’s the easiest one that I could think of to cover the topics I want to discuss. The web application will have the following features:
- Login Page: Which restricts website access to registered users
- Home Page: Main page for the registered users with a welcome message and website instructions
- Testimonial Page: Testimonial Page which displays all the testimonials from database entered by the users and option to save new testimonials in the database
- Log Out: To gracefully logout of the website
We will also add a simple HTML template to the website which would cover the templates and layouts concept in Mojolicious.
Without further adieu, let’s begin building this project.
Create full_app project
In our previous tutorial on Mojolicious, we created “Hello World” web app with lite_app. This time we will build this project with full_app. To create a full_app, open the terminal and enter the below command:
mojo generate app myWebSite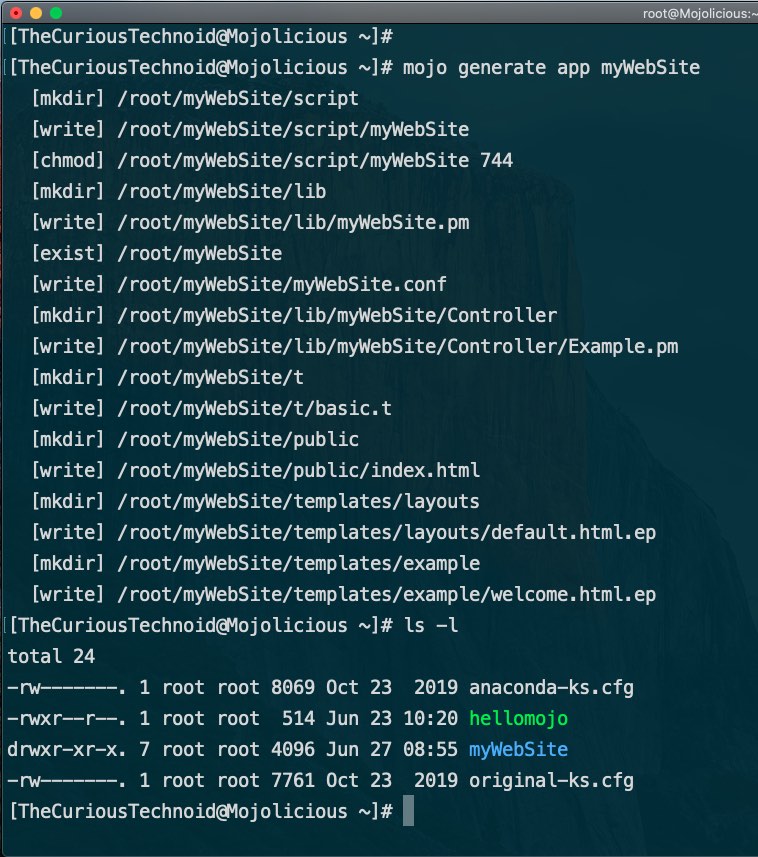
This will create a directory called myWebSite with the below folder structure:
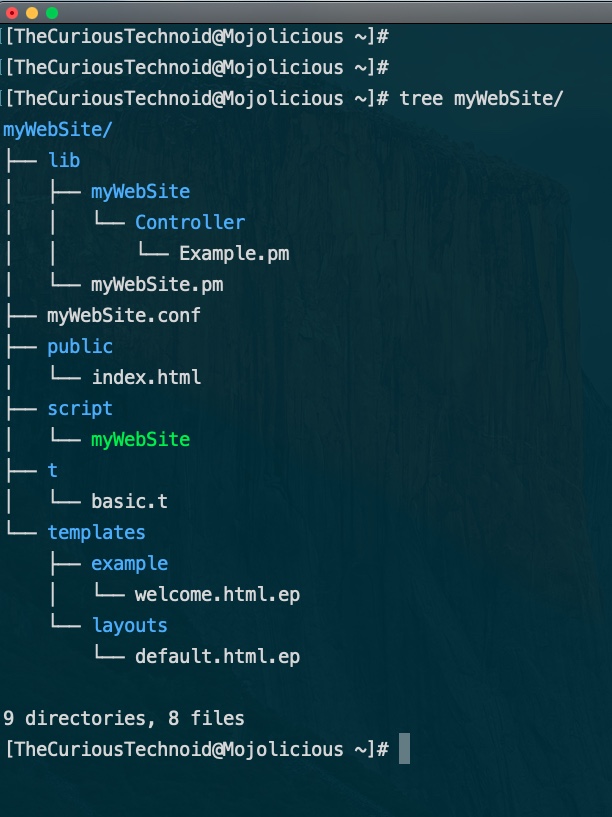
Lets understand the below components from the above screenshot
- lib
- myWebSite.conf
- public
- script
- t
- templates
lib
The library directory is probably the most crucial directory which holds all your programming code. Your Controller and Model logic goes here. The logic to handle any action on your webpage will be somewhere in this directory.
Your routes and page-actions are sent to the file myWebSite/lib/myWebSite.pm which then invokes the relevant Controller and Model to handle your requests.
myWebSite.conf
This is the master configuration file for your web app. You can add secret phrases for signed cookies, mention the number of workers that you want webservers to run, the port that your application should run on, database connection details, so on and so forth.
public
You can find all your static pages here. Along with the static pages, all publicly available components like your css, images or any other media goes into this directory.
script
Script to start your web site is present in this directory. You run you web app using the script/myWebSite file present in this directory.
t
Folder dedicated for your test scripts.
templates
Directory which holds the templates and layouts used by your web app.
I will not go in detail about the theory as you can always read more about it in the official website of Mojolicious. Let us proceed with our project.
Let’s go ahead and run this sample web app as it is, using the development web server morbo:
morbo myWebSite/script/myWebSite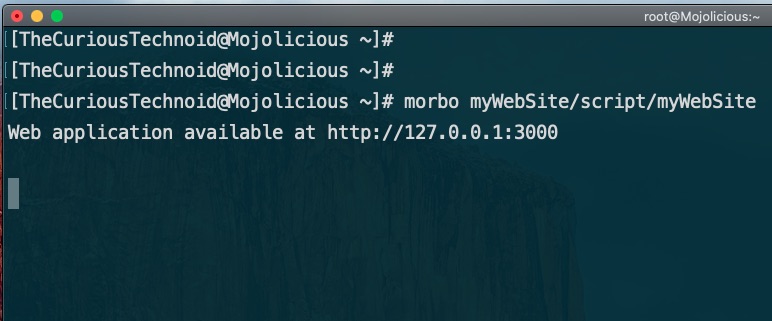
Since we don’t see any errors, let’s fire up the browser and check our page (I have SSH Tunnel enabled, so I can access the webpage with localhost IP and default port(3000):

Our Website is running fine.
How did our website’s content get rendered ? Let us understand the flow of events. First, let me just remind you how the structure of your web application looks like:
Below diagram shows the flow of events from different files when you access your web page:
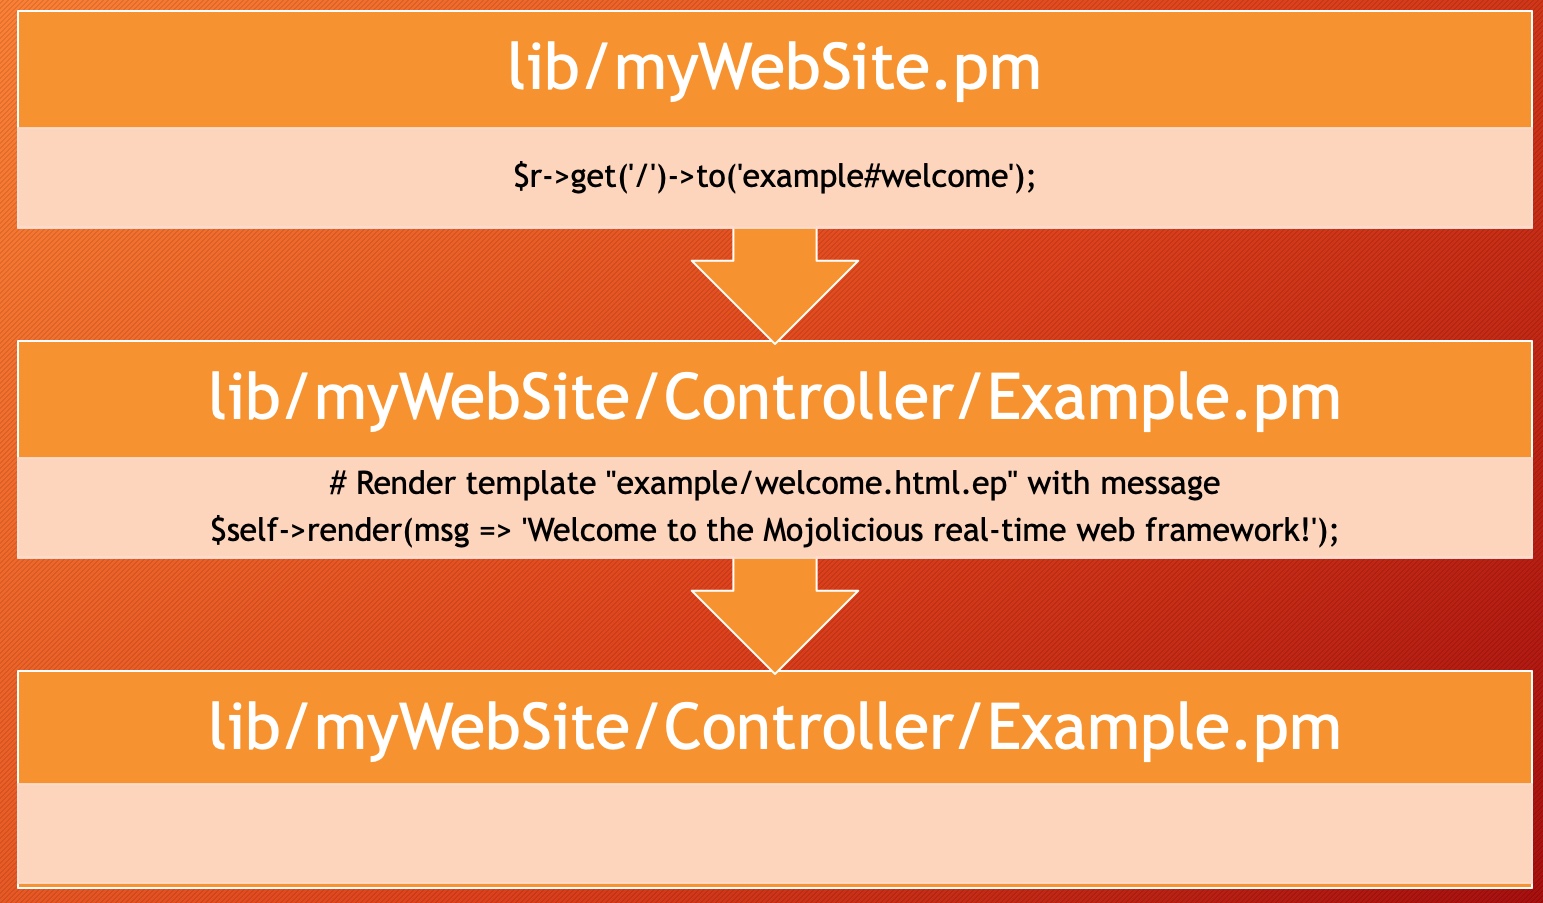
Whenever you access any web page built in mojolicious, the first file that gets called is the library file: lib/myWebSite.pm. The line $r->get('/')->to('example#welcome'); in the file basically tells to go to the controller Example.pm and execute the welcome sub-routine. Controllers, as you can see in the above screenshot are stored in lib/myWebSite/Controller.
In the controller we see the below lines:
# Render template "example/welcome.html.ep" with message
$self->render(msg => 'Welcome to the Mojolicious real-time web framework!');
This basically tells Mojolicious to set a value to the variable $msg and render the template. But which template ? We don’t see any template name mentioned in the controller, then which page is getting rendered?? Well, since no template is explicitly called Mojolicious will look for the template is the path similar to the controller path: example/welcome. In the above directory structure, we can see a template: template/example/welcome.html.ep, that’s what is getting rendered in the home page now. Ofcourse, you can explicitly mention the template name in the controller and it will exactly behave the same way. Just pass the template name like this:
$self->render(msg => 'Welcome to the Mojolicious real-time web framework!',template => "example/welcome");I prefer explicitly mentioning the template names in my controller, to avoid any confusion.
Now that we know that our main page’s content is being displayed by myWebSite/templates/example/welcome.html.ep and the contents looks like this:
% layout 'default';
% title 'Welcome';
<h2><%= $msg %></h2>
<p>
  This page was generated from the template "templates/example/welcome.html.ep"
  and the layout "templates/layouts/default.html.ep",
  <%= link_to 'click here' => url_for %> to reload the page or
  <%= link_to 'here' => '/index.html' %> to move forward to a static page.
</p>
We will change it to add our content:
% layout 'default';
% title 'Home Page';
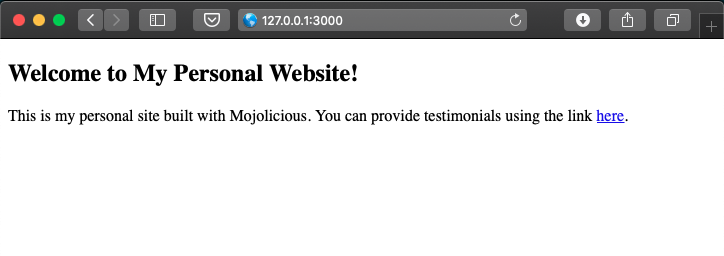
<h2><%= $msg %></h2>
<p> This is my personal site built with Mojolicious. You can provide testimonials using the link <a href="#">here</a>.
</p>If you notice that the heading in the above html content is displayed by the variable $msg. This was set by our controller: myWebSite/lib/myWebSite/Controller/Example.pm. Let us open the controller file and change the below line:
# Render template "example/welcome.html.ep" with message
$self->render(msg => 'Welcome to the Mojolicious real-time web framework!');
to
# Render template "example/welcome.html.ep" with message
$self->render(msg => 'Welcome to My Personal Website!',template => "example/welcome");
Not only did I change the heading, I also explicitly mentioned which template to render.
Lets run our web app with morbo:
morbo myWebSite/script/myWebSiteRefresh our web browser:
Working as expected. Before we wind up, lets just change the default controller and template files to our customized file names:
cp myWebSite/lib/myWebSite/Controller/Example.pm myWebSite/lib/myWebSite/Controller/CustomController.pmmkdir myWebSite/templates/myTemplatescp myWebSite/templates/example/welcome.html.ep myWebSite/templates/myTemplates/homepage.html.epNew Controller Name : myWebSite/lib/myWebSite/Controller/CustomController.pm
New Template Name : myWebSite/templates/myTemplates/homepage.html.ep
Open the new controller(CustomController.pm) and change the first line to reflect the new controller name, from:
package myWebSite::Controller::Example;to
package myWebSite::Controller::CustomController;Now change the below line in the same file to point to our newly created template: myTemplates/homepage
# Render template "example/welcome.html.ep" with message
$self->render(msg => 'Welcome to My Personal Website!',template => "example/welcome");
to
# Render template "myTemplates/homepage.html.ep" with message
$self->render(msg => 'Welcome to My Personal Website!',template => "myTemplates/homepage");
Finally, open the main library file: myWebSite/lib/myWebSite.pm and change the below line to call our now custom controller rather than the default:
$r->get('/')->to('example#welcome');to
$r->get('/')->to('CustomController#welcome');Lets start our web app and refresh the browser:
morbo myWebSite/script/myWebSite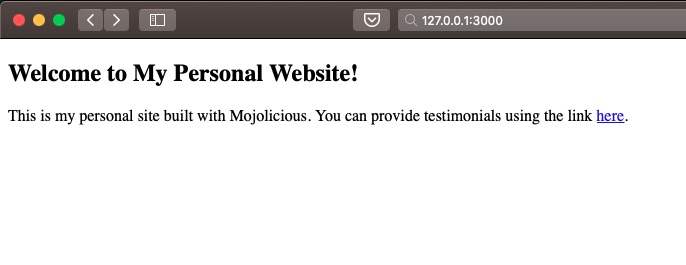
You will not see any changes since we didn’t change the content. But we also didn’t see any errors that means we have achieved what we want.
We successfully created the home page of your website. In the next session, we will learn about templates and layouts. We will try to add some color to our dull home page that we created in this article.