Minion is a third party plugin for Mojolicious Web Framework which allows you to process time consuming tasks in the background. They are high performance job queue for Perl programming language and is not limited to just Mojolicious web framework.

Minion is a high performance job queue for the Perl programming language, with support for multiple named queues, priorities, high priority fast lane, delayed jobs, job dependencies, job progress, job results, retries with backoff, rate limiting, unique jobs, expiring jobs, statistics, distributed workers, parallel processing, autoscaling, remote control, Mojolicious admin ui, resource leak protection and multiple backends (such as PostgreSQL).
mojolicious.org
Minions doesn’t come pre-installed with Mojolicious installation so it needs to be installed separately.
cpanm MinionIf you use docker, I have built an image which has Mojolicious and Minion together. You can get it here:
docker pull curioustechnoid/mojoliciousMinion uses database backend to store and process the jobs. Most of the popular databases(like SQLite, PostgreSQL) are supported. Jobs can be added to the queue from different programs like Mojolicious, Perl Program, Command Line etc. The Minion worker will be monitoring your backend database and processes the jobs based on priority and availability.
There are 2 important components to Minions:
- Minion Worker
- Job Queues
Let us see how we can configure and deploy Minion.
Minion Worker
Minion workers are the silent warriors that keeps monitoring the backend database and processes the jobs that gets added to the queue.
Let us go ahead and create a script to start the Minion worker. I am using Mojolicious lite app to create a worker. You can very well create a worker without using Mojolicious, read more about it here. We will also add definition of our jobs inside this script. We will be adding a ‘slow-running‘ task and a ‘high priority’ task to the script as an example. For the purpose of this demo, I am using SQLite as the backend.
#!/usr/bin/env perl
#
# # # # # # # # # # # # # # # # # # # # # # # # # # # # # # #
# minion-worker.pl
#
# AUTHOR:  Curious Technoid
# DATE:  20-Apr-2021
# VERSION:  1.0
# PURPOSE:
#           This mojo app is to initiate the minion worker
#           which will process the jobs in the queue.
#
# USAGE:
#       ./minion-worker.pl minion worker -m production
#
# # # # # # # # # # # # # # # # # # # # # # # # # # # # # # #
#
use Mojolicious::Lite -signatures;


# Using sqlite for the queue
plugin Minion => { SQLite => 'minionjobqueue.db', };


#
# Dummy Slow Running Task
#
app->minion->add_task(slow_task => sub ($job) {

        my $id = $job->id;
        $job->app->log->info("Slow Running Task Initiated -> ".$id);
        sleep 20;
        $job->app->log->info("Slow Running Task Completed -> ".$id);
        $job->finish({message => "Slow Running Task Completed -> ".$id});
});

#
# Dummy High Priority Task
#
app->minion->add_task(high_priority => sub ($job) {

        my $id = $job->id;
        $job->app->log->info("High Priority Task Initiated -> ".$id);
        sleep 3;
        $job->app->log->info("High Priority Task Completed -> ".$id);
        $job->finish({message => "High Priority Task Completed -> ".$id});
});


app->start;
Start the worker
Now that our Worker script is ready time to start it. You can manually start the worker by running the one of the below commands in terminal:
./minion-worker.pl minion worker

./minion-worker.pl minion worker -m production

nohup ./minion-worker.pl minion worker -m production &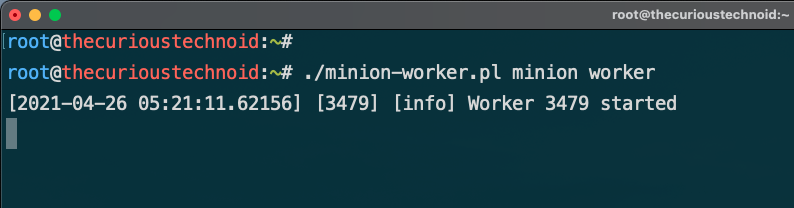
In a production environment, I prefer creating it as a systemd service and run it in the background.
[Unit]
Description=Minion Workers for Mojolicious
After=mariadb.service

[Service]
Type=simple
ExecStart=/path/to/your/worker/minion-worker.pl minion worker -m production
ExecReload=/path/to/your/worker/minion-worker.pl minion worker -m production
KillMode=process

[Install]
WantedBy=multi-user.target
Now we have the worker running, ready to process any jobs added to the queue. You can check the status of the jobs in the queue using the command:
./minion-worker.pl minion jobMinion comes with a pre-built Admin console to monitor the jobs that are enqueued and processed. It can be enabled using the plugin:
plugin 'Minion::Admin';We will see it’s usage when we build our Mojolicious app for adding jobs to the queue.
Next task would be create means to enqueue the job queue.
Job Queue
There are many ways to add jobs to the job queue, we will look at the below 3 ways:
- Mojolicious App
- Perl Script
- Command Line
Mojolicious App
One of the best use cases of using Minions is to call it from Mojolicious Web App to do time consuming or CPU intensive task in the background. We will create a Mojolicious App which will do the below things:
- Add new jobs to the Queue
- Enable Minion Admin Console to monitor the job queue
Without further adieu let us quickly create a new Mojolicious app to begin with:
mojo generate app mojominion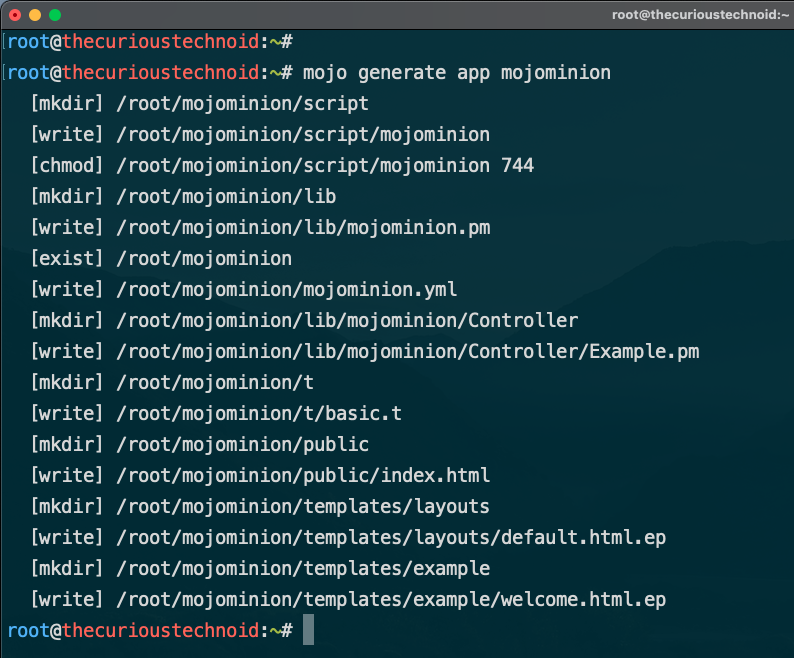
In our main library created by the mojo command, we will first add the logic to call the Minion plugin.
File: mojominion/lib/mojominion.pm
$self->plugin(Minion => { SQLite => 'minionjobqueue.db'});We will keep it simple and only add routes to:
- Add new jobs to the queue
- Navigate to Minion Admin Console
We will not think much about security as of this moment. This is just to show you how to add jobs to the queue, so right now anybody can add jobs to the queue.
  $r->get('/addjob/slow')->to(controller => 'Example', action => 'addSlowJob');  # Route to add slow job
  $r->get('/addjob/high')->to(controller => 'Example', action => 'addHighJob');  # Route to add high priority job
  $self->plugin('Minion::Admin' => {route => $r->any('/admin')});  # Route to navigate to Minion Admin Console
You can find the complete source code here.
Let us now add the logic in our default controller to push the job to the queue.
File: mojominion/lib/mojominion/Controller/Example.pm
Add the below 2 procedures in the controller:
# Subroutine to add slow jobs
sub addSlowJob ($self) {
my $jobid = $self->minion->enqueue(slow_task => []);
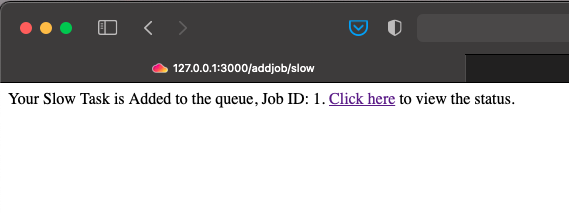
$self->render(text => 'Your Slow Task is Added to the queue, Job ID: '.$jobid.'. <a href="/admin">Click here</a> to view the status.');
}
# Subroutine to add high priority jobs
sub addHighJob ($self) {
#
# By default priority is set to 0, anything more than that gets priority.
# You can have values between -100 to 100
#
my $jobid = $self->minion->enqueue(high_priority => [] => {priority => 10});
# my $jobid = $self->minion->enqueue(slow_task => []); #Another way of adding the task to the job queue
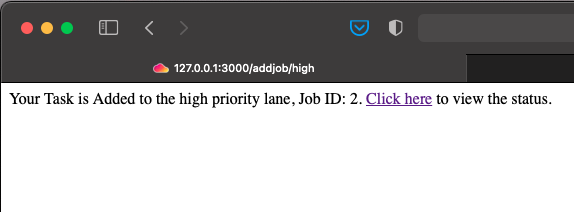
$self->render(text => 'Your Task is Added to the high priority lane, Job ID: '.$jobid.'. <a href="/admin">Click here</a> to view the status.');
}Task given high priority will get picked up first once the worker becomes free. You can see this first hand in a video demo that I created in youtube.
You can find the complete source code of the above codes here.
Time to Test
We created the worker, started it and then created a Mojolicious App that can handle job requests. Let us fire it up and see if it works.
morbo mojominion/script/mojominionLet us first access the admin console to see if that is accessible:
http://127.0.0.1:3000/admin
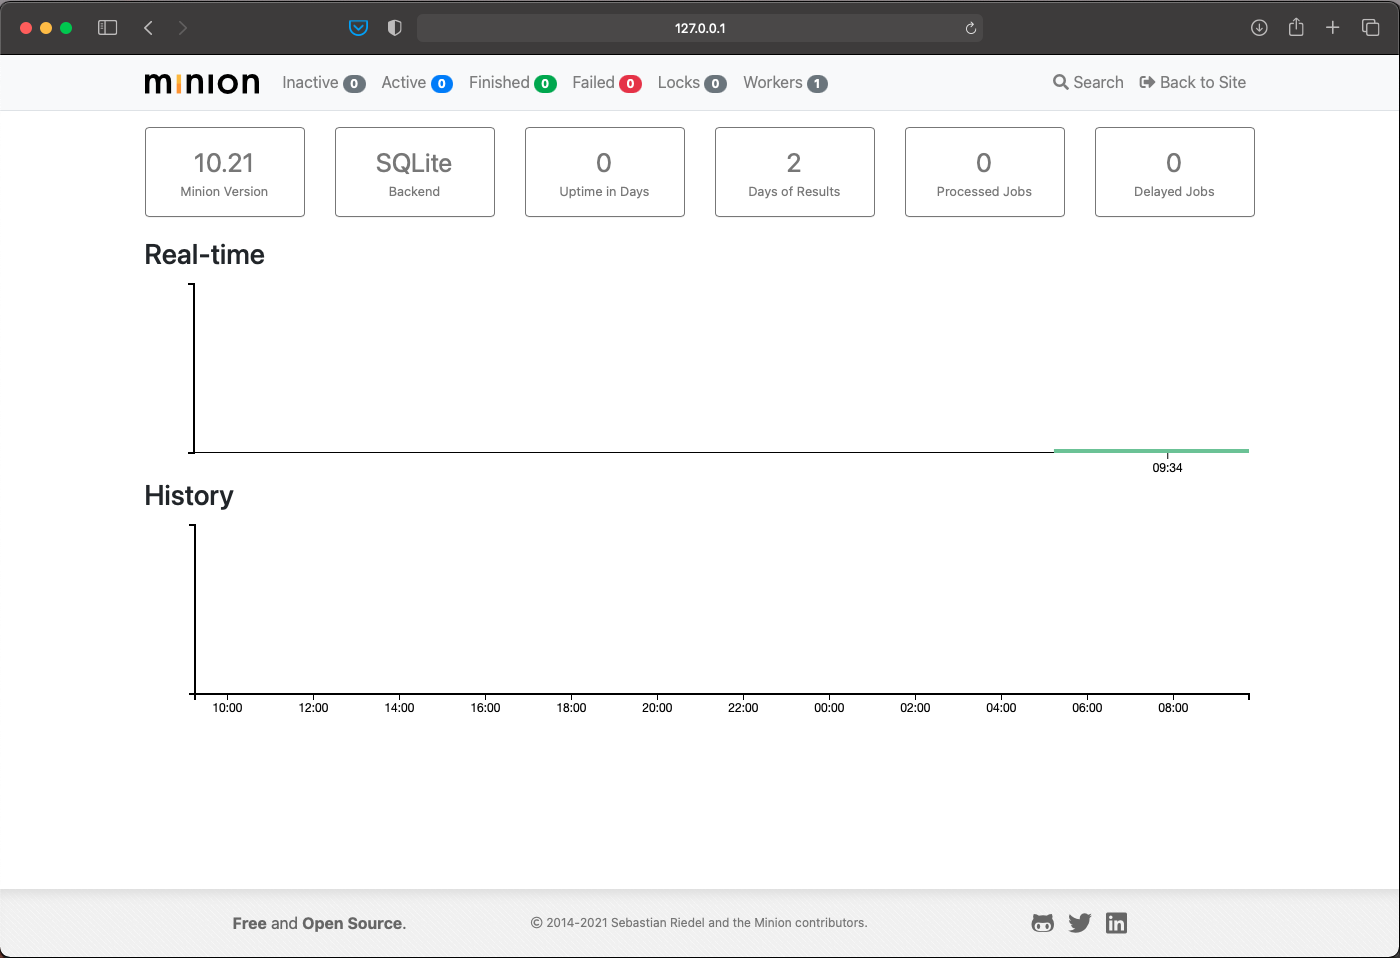
Admin console is working fine and we can see that we have 1 worker running. Time for us add some jobs by using the below URLs (keep the admin console open):
http://127.0.0.1:3000/addjob/slowhttp://127.0.0.1:3000/addjob/high
Open the URL multiple times to add more jobs. If we head back to our admin console we can see our job getting executed.
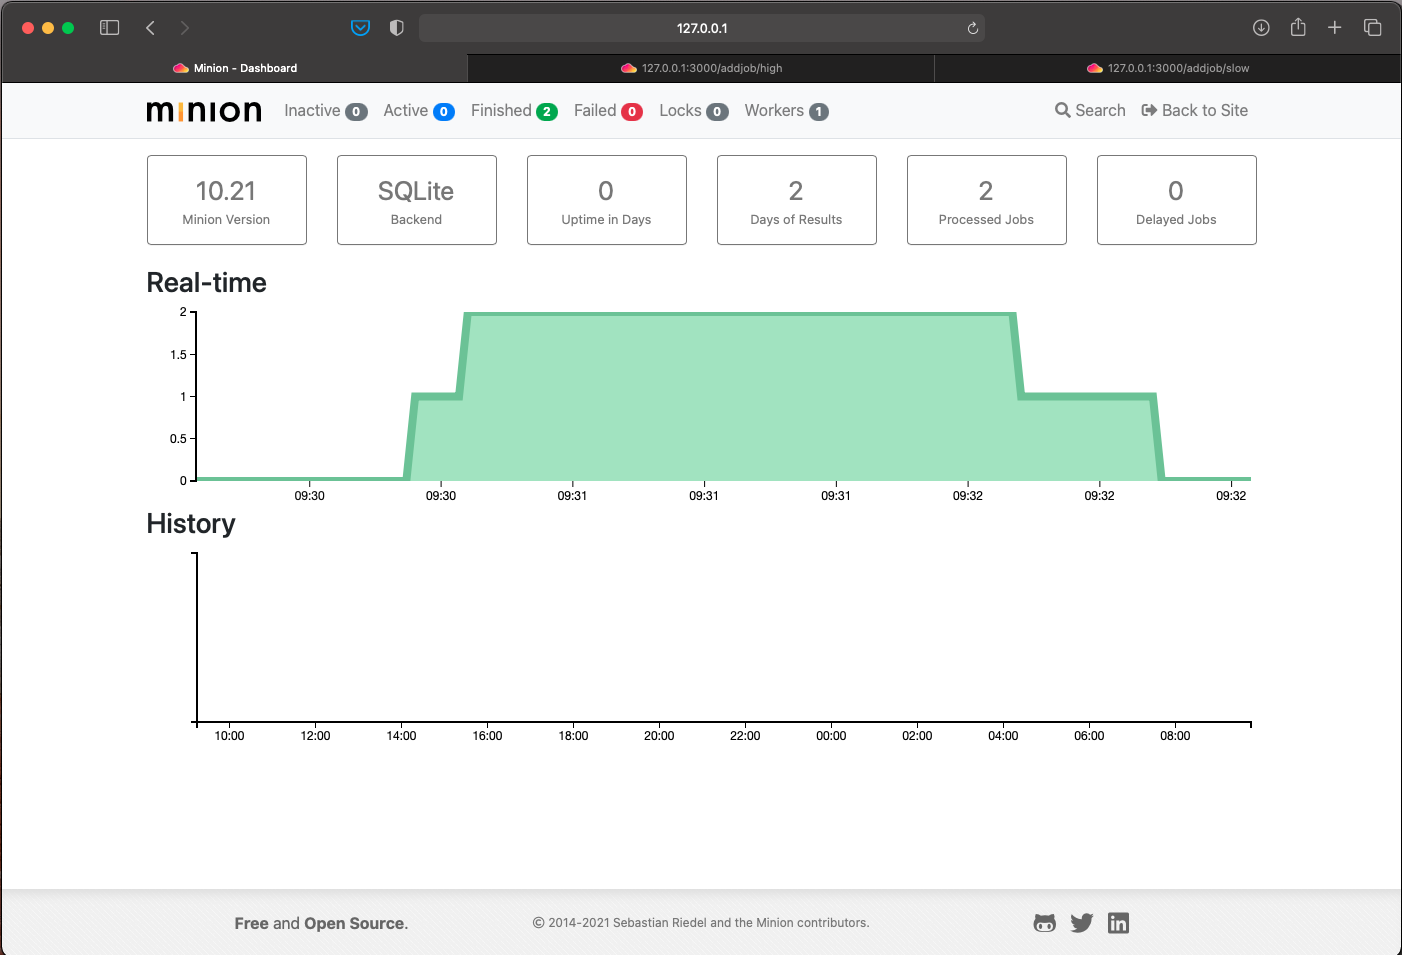
Just like that we have successfully implemented Minions using Mojolicious.
Perl Script
Can we use Minions without Mojolicious ? Most definitely. We will keep the above Mojolicious app running to access the admin console and then try to add a job using the below plain Perl script:
#!/usr/bin/env perl
#
# # # # # # # # # # # # # # # # # # # # # # # # # # # # # # #
# add-minion-job.pl
#
# AUTHOR:  Curious Technoid
# DATE:  20-Apr-2021
# VERSION:  1.0
# PURPOSE:
#           This perl script is used to add a new job to
#           minion queue.
#
# USAGE:
#       ./add-minion-job.pl slow
#       ./add-minion-job.pl fast
#
# # # # # # # # # # # # # # # # # # # # # # # # # # # # # # #
#
use Minion;


# Do you notice we are using the same database
my $minion = Minion->new( SQLite => 'minionjobqueue.db');


# Getting the parameter
my $param = shift;


if(lc $param eq 'slow'){

    # Add slow task to the queue
    my $jobid = $minion->enqueue(slow_task => []);

    print("Your Slow Task is Added to the queue from perl, Job ID: $jobid\n\n");

}elsif(lc $param eq 'fast'){

    # Add high priority task to the queue
    my $jobid = $minion->enqueue(high_priority => [] => {priority => 10});

    print("Your High Priority Task is Added to the queue from perl, Job ID: $jobid\n\n");
");

}else{

    die("Incorrect parameter\n");
}
Once the script is ready, run it using the below command to add jobs:
./add-minion-job.pl slow
./add-minion-job.pl fast
Now if you head back to the Admin console that is running from our previous example, you can notice that the new jobs added by the Perl script is queued and executed. If you don’t want to use the Mojolicious Admin console at all, you can always use the command line to check the jobs:
./minion-worker.pl minion job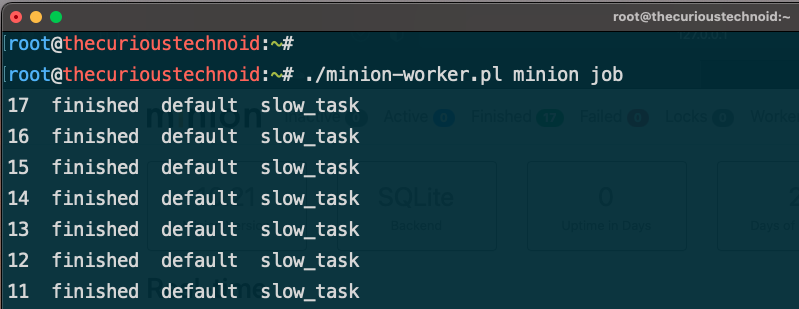
Command Line
We can even add jobs to the queue from command line directly. One way is ofcourse to use the pure Perl script above and use that to add jobs from command line. Not only that, you can also add jobs using the worker script(minion-worker.pl) we wrote in the beginning. Below command adds jobs to the queue directly from command line:
./minion-worker.pl minion job -e slow_task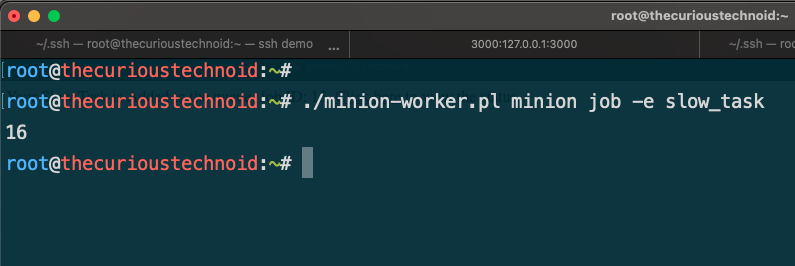
You can pass arguments like this:
./minion-worker.pl minion job -e slow_task -a '["param1","param2"]'This is very useful if you want to schedule jobs using cron.
That’s about it. We have configured, deployed and tested Mojolicious Minions in this article. If you wish to check out the hands on demonstration about the things we discussed in this blog, check out my video in youtube below.
You can read more about Minion documentation in the official page here.