Most of the websites you find on the web today are mostly built on the concept of request-response. User clicks a link / button on the webpage, browser sends a request to the server, server sends back the relevant content. This works just fine for most of the websites out there. But imagine a scenario where you are constantly showing stock prices in your website. User(Client) will not request(click on) anything however, the server should keep sending the latest stock prices. To achieve this, traditionally websites relied on techniques like HTTP long polling where in the server holds any request until new content is available and once available, it sends it to the client, client then immediately sends another request which is held by the server until new content is available, this is repeated practically forever or until the session ends. This, as you can see adds severe burden on the server.

WebSockets overcomes the above problem by providing full-duplex bidirectional connection between client and server which enables servers to send data to client without the need for client to request for it. Few examples where WebSockets are useful are chat, website displaying stock market prices, website showing game scores etc.
In this article, let us try to implement a simple group chat application to demonstrate WebSockets. We will be using Mojolicious Web Framework here. Mojolicious has WebSockets support by default which makes it quite easy to implement this.
We will keep our chat application simple with the below features:
- Users should be able provide their name and connect to the chat application
- Messages sent by any user should be available to everyone connected to the chat application
- Users inactive for 5 mins should be automatically disconnected from the chat application
Server-Side Logic
For the purpose of this demonstration, I will use Mojolicious lite app. Let us go ahead and create our application using the below command:
mojo generate lite_app simpleChatApp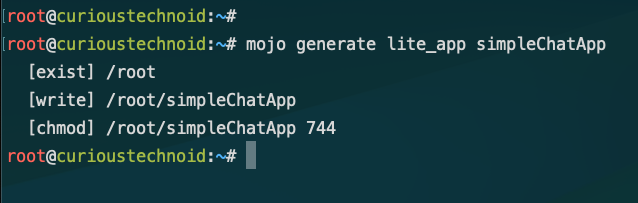
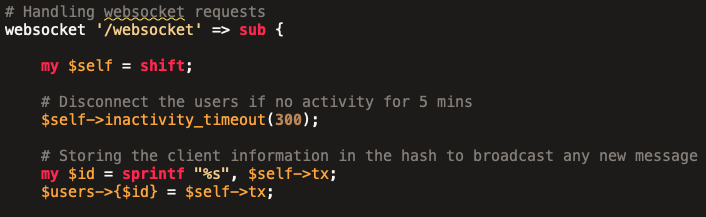
Let us now write a route to handle any websocket requests. In Mojolicious you use the websocket request to do that. We will also set a timeout of 5mins so that any user not active for more than 5mins gets automatically disconnected. We will store all the connected user information in a hash(%users) so that we can broadcast any new message to everyone.
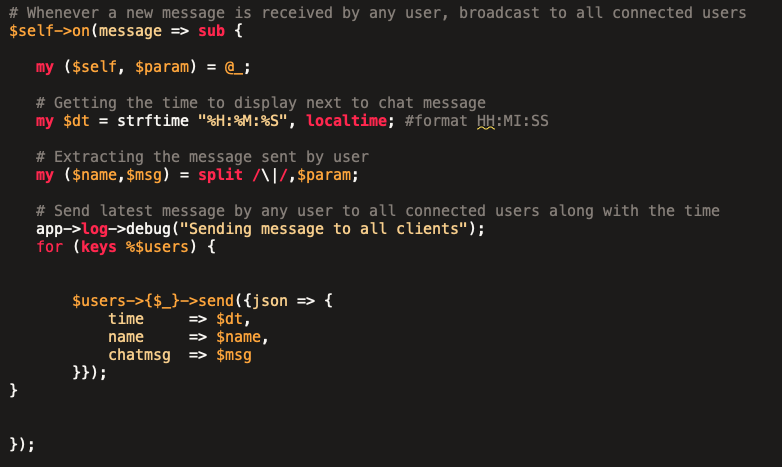
Once the user is connected, any new message sent by any user needs to be broadcasted to all the users that are there in the %users hash. We will parse the pipe delimited message received from the user which will have the name and the message(we will add this logic in the HTML template in the next section). We will append the current time and send all the information in JSON format to all the connected users (%users).
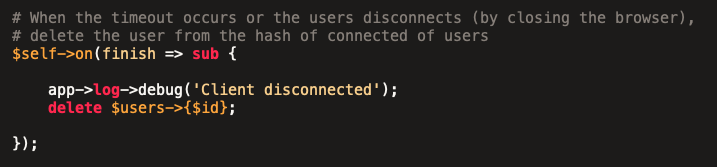
If the users disconnects or time-out occurs, we will remove the user from our hash so that new messages are not sent to them.
Client-Side Logic
Now that we have our server side logic in place, time to write client side logic. Javascript has APIs which can be used to connect to server via websockets. We will be using that here.
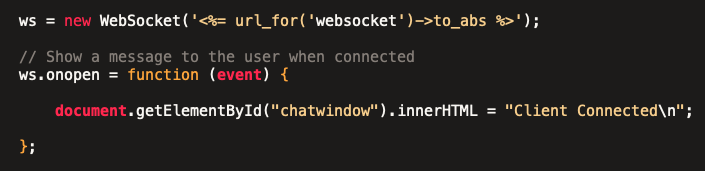
First, we will have to connect to server via websocket either when the page loads or on some user action. In our case, we will give a button to the user to connect to the server by providing his name; when that button is clicked, we call the below code to connect to the webserver and display a message saying Client Connected. We have HTML elements to display the messages and capture the user inputs. You can check the complete source code here.
Once the connection is established, whenever the user sends a new message, we append his name with the message he has typed and send it to the server delimited by pipe(you should ideally be using JSON or something!).

When anyone sends a message (including the user himself), the message which is broadcasted by the server will be captured, parsed and displayed on the chat window. Chat window is a HTML text area, you can check the source code here.

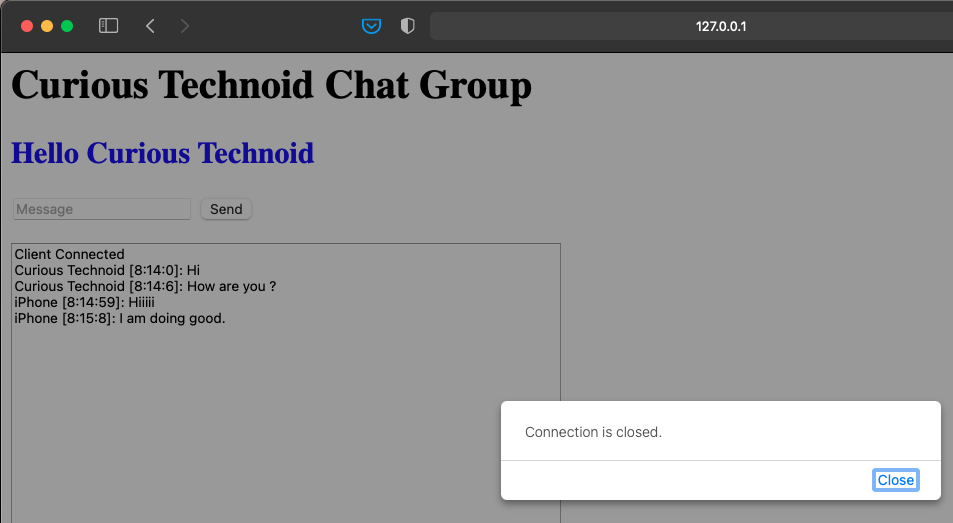
In case the user is inactive for 5mins or the server closes the connection, we pop-up a message to the user saying connection is closed:

Testing
Would you believe if I told you, this is all you need to build a simple chat program? Well, that’s Mojolicious for you. Let us fire up the morbo server and check out our chat application.

Let us try accessing our chat program using the url: http://127.0.0.1:3000
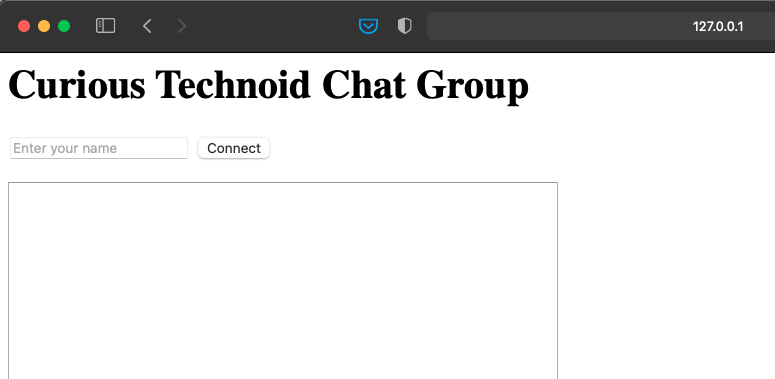
Give your name and click Connect button to connect to the chat session.
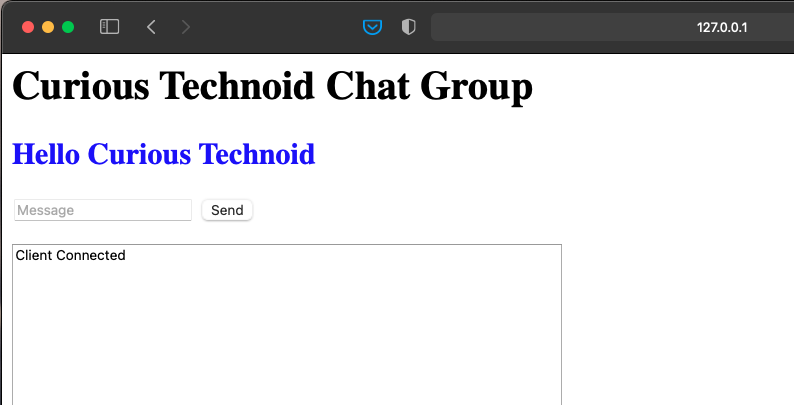
A welcome message is displayed and it also shows that the user is connected to the server. Now go ahead, enter a message and hit send.
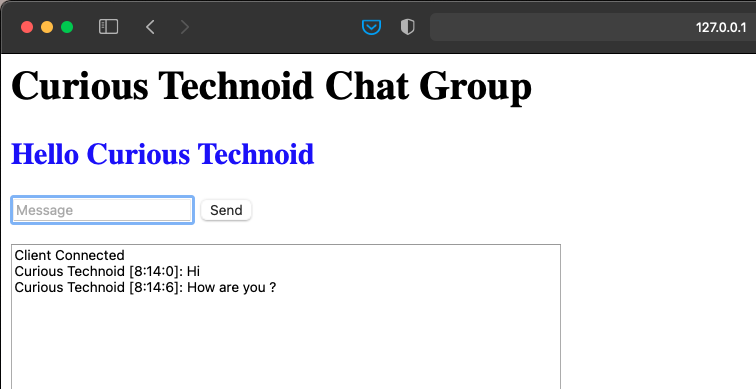
You can see your message in the text area with a time stamp. The message is actually broadcasted by the server to all the connected users. Now let us access this chat program from our phone and send a message.
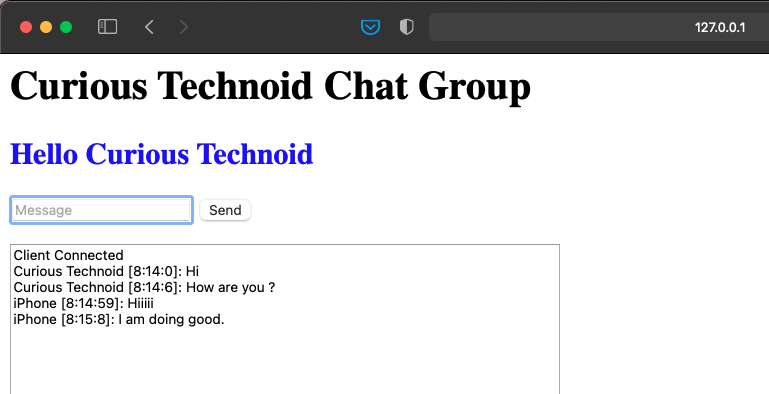
You can see the messages sent by any user getting broadcasted to all the active users. If a time out occurs or if the server disconnects the connection, all the users will get a pop-up message like this:
That’s about it, we have successfully implemented a simple chat program in Mojolicious using websockets. You can find the complete source code of this program here. Below is the video demonstration of what we discussed in this article, if it interests you. Thank you for reading.